Orchids don’t need a lot of fertilizer. When they are grown in the wild in their natural habitat, they receive nutrition 24 hours a day but in tiny doses.
When a current of air rushes by the aerial roots, they pick up a tiny strain of nitrogen. When a monkey such as a long-tailed macaque jumps from limb to limb above them shaking the overhead canopy, the orchid leaves receive a microscopic dose of calcium or magnesium. Torrential rain flushes boron and potassium over the bark and onto the roots.
We can’t do that when growing orchids indoors, so we supplement the lack of these nutrients with orchid fertilizers.
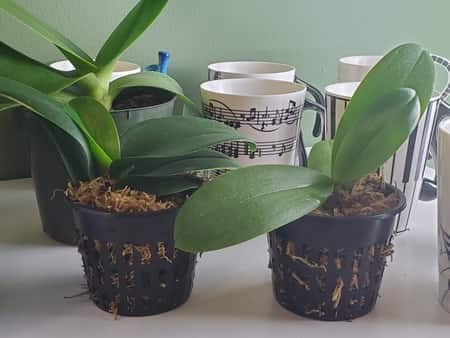
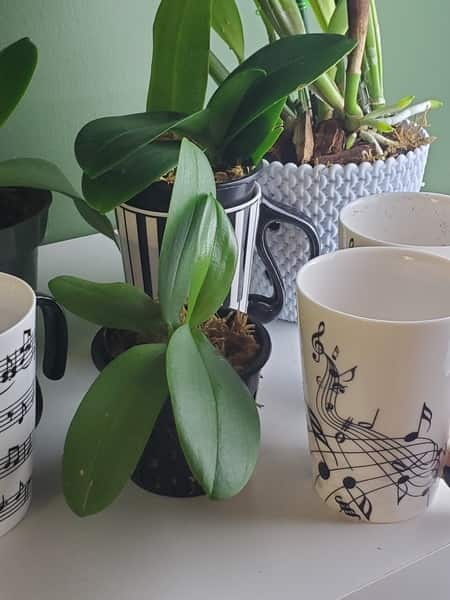
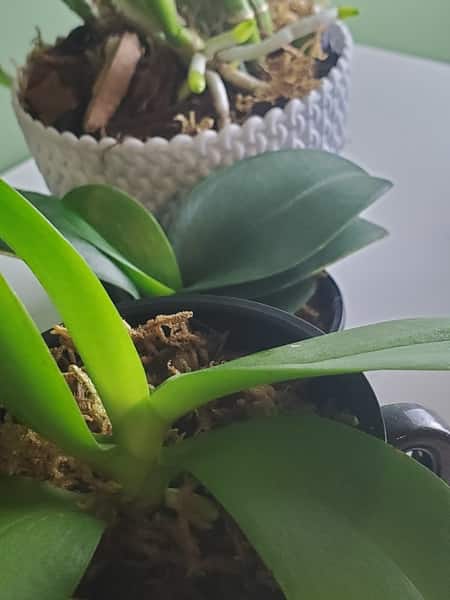
How do you fertilize an orchid in moss? There are three methods of fertilizing orchids that are cultivated in sphagnum moss. First, hydrate the orchid the day before applying fertilizer. The second method is to fertilize the same day, using a resting period of at least three hours before fertilization. A third method includes only to apply fertilizers as a mist. The only fertilization method not recommended is a slow-release fertilizer placed on top the medium.

The problem with fertilizing orchids in moss as if they were planted in other media is that the sphagnum, being highly absorbent, moss will accumulate more fertilizer than other media will.
For starters, even though you will be using a weak dose of fertilizer, you’ll still need to divide that in half again.
Sphagnum moss will then slowly release the extra amounts of fertilizers over some time, compared to other media. Other media, like charcoal, for example, will release tiny doses over time of whatever they have absorbed but since it doesn’t absorb much, it’s hardly worth writing about. The entire difference is in the quantity of fertilizer they absorbed.
Orchid roots will soak up the minerals and nutrients when watered but cease to do so when the medium dries out. When planted in bark, charcoal, perlite, and other media, this drying period is faster. Yet with sphagnum moss, which retains enormous quantities of water, fertilizer accumulates in larger quantities and is withheld for longer periods.
Knowing this, let’s look at the three types of methods to fertilize orchids planted in sphagnum moss.
Method # 1: Hydrate the Orchid the Day Before
You shouldn’t EVER apply fertilizer to dry roots, but you shouldn’t apply them to overly soaked roots either. Orchid roots are extremely sensitive since they both photosynthesize and absorb. Other houseplants don’t photosynthesize with roots. This is why you need to hydrate your orchid’s roots first, so they are watered and nurtured. Only then, should you apply fertilizer.
If you apply fertilizer to extremely dry orchid roots, root burn could occur. Root burn is when excessive amounts of minerals interact with the protective coating of the root, called velamen. The velamen’s sensitive layer of cells reacts badly to the chemical overload and burn, killing the cells. They no longer absorb anything.
NOTE ABOUT SPHAGNUM MOSS, FERTILIZATION, AND ROOT BURN:
There is one observation here worth pointing out: root burn does not happen when you fertilize without hydrating the plant first—which is a common misconception about fertilization.
Root burn occurs when there is an excessive amount of fertilizer in the potting medium and it is not leached out regularly—whether you water first or not. Many people will water their orchids first thinking that applying direct fertilizer to the dry roots will cause root burn. I used to think this until recently when I tested that theory and it proved to be horrendously wrong. My orchids are fine and thriving.
Think back to nature.
During the drying out period, (when I lived in Brazil this time frame would not exceed 24 hours, so the orchids I grew outside got watered a lot) nutrients and minerals accumulate on the tops of overhead leaves, in the tree bark, on twigs, and hanging fruit. Rain comes down first in small drops, bringing in the first wave of nutrients that rinse off the leaves in the overhead canopy.
This nutrient-packed rinsing is what interacts with the orchid roots first. Orchid roots have developed to grasp those chemicals and absorb them, not letting the torrential rain flush them out later.
What first started as small droplets evolve into bigger droplets that plash the rest of the nutrients onto the roots, and even massive raindrops all the nutrients that wash down the tree bark.
Let me repeat this: the first contact with orchid roots is packed with nutrients.
Then the additional water (without all the compacted nutrients) is supplied. It doesn’t make sense that the roots would get root burned if they were dry, just because they are were not watered first.

SPHAGNUM MOSS AND FERTILIZER ROOT BURN
So why am I even suggesting watering first? Because the rainforest and subtropical areas where most orchids are grown have one thing indoor orchid growers like me do not: extremely high humidity. The velamen and the underside of the leaf can sense humidity changes and know when the orchid is about to receive rain.
We need to mimic this pattern by increasing humidity (which watering does in a sense) then applying the fertilizer. When the orchid knows that rain is coming, the stomata will open and the roots will be more prepared to absorb the nutrients it needs. That is why we water first—not to inhibit root burn.
How does an orchid planted in sphagnum moss have anything to do with this?Sphagnum moss will retain horrendous amounts of fertilizer, and that is what causes root burn in orchids. If the roots burn, they will keep burning since sphagnum keeps supplying more fertilizer until you rinse out the sphagnum (better yet, until you change it all together).
Since sphagnum retains water so well and takes a longer time to release it, you’ll need to water the orchid as you would in any normal watering schedule. Make sure the orchid is hydrated. On the next day, the sphagnum will still be extremely humid and you can apply fertilizer the same way you watered the plant.
The cons of this method are that 1) essentially you will be “watering” twice and 2) it is time-consuming. Some orchids could react to the “over watering” method and retain too much water, which is called edema. There is an article here about edema if you want to read more about that. Edema will appear as swollen blisters on the orchid leaf, a clear sign of over watering, a phenomenon very common when using sphagnum moss.
Method #2: Fertilizing with a Rest Period of Three Hours
In this method of fertilizing an orchid planted in sphagnum moss, you’ll be following the same principles that the first method cited, but with less wait period. You might be asking why not just fertilize a few minutes after the initial watering since the roots will already be hydrated.
Roots that are dripping wet will not absorb anything. They have already soaked in the water they need and as long as they are still in the waterlogged media, they’re done absorbing water. There needs to be a minimum waiting period so the roots can again feel the necessity of absorbing water and fertilizer.
Since sphagnum will not dry out until the next week, the roots will not be as thirsty for another drink. This method has the advantage of not absorbing that much fertilizer, which is our aim. The roots will be somewhat satisfied, and the sphagnum moss will be hydrated to almost full capacity. The amount of fertilizer they absorb will be far less than in the first method.
Method #3: Misting with a Fertilizer
Misting is not my particular favorite type of fertilizing, but it is a good place to start for beginners fertilizing with sphagnum moss medium. If you want to see other methods of fertilizing, this article focuses on unique methods of fertilizing orchids. Since that article is not focused on a particular type of orchid or a specific potting medium, not all methods apply—misting does.
What makes sphagnum so good in terms of water retention for orchids, becomes its downfall in terms of fertilizing. If it just didn’t absorb so much, it would be perfect. In this case, misting with a diluted fertilizer is a good way to get around this fertilizer problem when your orchid is planted in sphagnum moss.
By misting only the leaves and aerial roots, the sphagnum moss will have minimal contact with the fertilizer. The leaves will absorb nutrients to a lesser degree than household plants will, yet they can absorb.
There is a small detail in this method though that I hardly see anyone talking about. Orchids, especially Phalaenopsis, have a thick coating, like a waxy covering on the top side of its leaves. This coat’s function is to trap the humidity inside the leaves and keep the orchid hydrated.
In the most part, the top side of the orchid leaf is water-resistant. It will retain some humidity form the air but for the most part, the orchid’s leaves do not absorb water from the top, waxy-coated side. They repel water.
Misting the top side of the leaf is wasting fertilizer.
What absorbs is the underside of the leaf, where the majority of the stomata are located. These breathing pores, if they can be called that, perform all the orchid’s gas exchange and has sensors that indicate the humidity levels. If the humidity is too low, they will not open. They do this to trap the humidity they have inside since when gas exchange occurs, humidity is lost in the process.

When humidity is high, usually at night, the orchid will open the stomata to perform gas exchange. This is the best time to mist, and not early morning.
The downside to this method is that most indoor orchid growers will not keep their fans on at night. So if you happen to over mist, you’re harming your orchid with water retention and build-up. Excess water droplets will impair gas exchange which leads to root rot.
The underside of the lead is extremely sensitive. Let me say that again—extremely sensitive. Do not over mist. If you happen to buy a product like this one for misting (Affiliate Link) then make sure you don’t overdo it. Even though the fertilization concentration is extremely low (N-P-K ratio of 0.2-0.2-0.2) even that accumulates over time.
Easy on the spritz…
This third method of fertilizing orchids planted in sphagnum moss eliminates the problem entirely by removing the contact of the fertilizer with the moss. It is efficient but keep a light hand.
I thought about including a fourth method, which involves misting, but I finally decided on just making it a side note. Remember what I said about misting? Well in this fourth method you can mist the air around your orchid shelf with plain water, no added fertilizer. The change in humidity before watering with fertilizer will signal to the orchid that it is about to rain.
After heavily misting the environment, then waiting a couple of minutes before watering with fertilizer, you can mimic the pre-rain conditions that occur in nature, and your orchid will respond accordingly.You’re in luck!
This article is now a video!
Further Reading Suggestions:
Don’t just take my word for what is written here. Continue researching other articles about fertilizing orchids potted in sphagnum moss, because everyone has a different point of view and unique techniques that work for them. Here are a few other articles from other websites if you’d like to continue your research on sphagnum moss as a substrate for orchids:
–Title: “Fertilizer Burn ” written by Susan Jones and published on the American Orchid Society website talks the ways orchids get fertilizer burn and how to avoid it.
–Title: “General Recommendations for Feeding and Watering Orchids ” published on First Rays talks about the watering andfeeding cycle and how fertilizing after watering has no direct influence on root burn.It’s an excellent read and explains the concept very well.
–Title: “The Acidification of Sphagnum Moss Substrate during Phalaenopsis Cultivation ” written by Wan-Yi Yen and published in the American Society of Horticultural Science is a more sophisticated read, explaining how the pH of sphagnum does not lower with fertilization, as some orchid growers have erroneously claimed. After a lot of experiments and observation, the pH in sphagnum moss is directly related to other sources, and not fertilization. It is highly recommended if you grow Phalaenopsis and like scientific journals.
Don’t Stop Learning!
If you want to be included in more information and get a 14-page fertilization guide, please sign up for my newsletter. I don’t spam, but send emails out bi-monthly with some curious topics of interest. If you want more information, click here to go to a specific page on this website where I explain it more in detail.

Also, if you are looking for an orchid journal to keep your notes specifically about orchid care, check out my 2 solutions for that on this page. If note-keeping isn’t your thing, then there is a free excel spreadsheet that you can download. Click here for more information on how to do that.
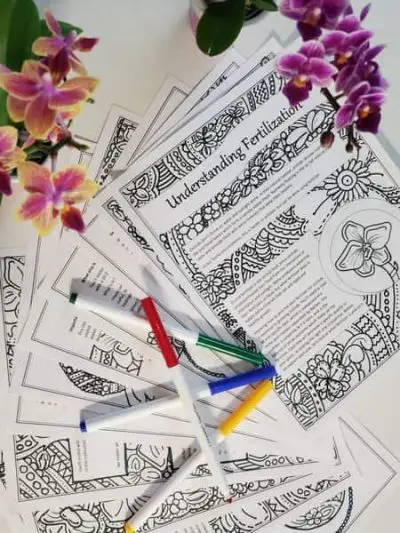
If you subscribe to my newsletter, I will send you a 14-page guide on the main tips of orchid fertilizer. It is downloadable and you can print it out on your computer. I designed the guide to double up as a coloring book, just to make it fun.
These are the three ways to fertilize your orchid planted in sphagnum moss. If you have any other methods or comments, please leave a note below.
Thanks for reading and Happy Cultivating!


This article was very helpful as I am replanting some orchids in sphagnum moss. The orchids were given to me growing on the wood slats of the planter as all the medium had been washed out of the planter over time from being outdoors.
I have questions;
1. Should I wet the moss before planting?
2. Should I transplant the orchid attached to the wood as it is and just cut the rest of the old planter off? It won’t hold new medium lol.
3. Should I fertilize before or after transplanting?
Not sure the type of orchid, but I could send pics. They have a very long main stem with long leaves growing on each side
Thank you so much!
Kelley