
Dividing and repotting Cattleya orchids… It’s daunting. But that time has arrived: it’s time to divide that humongous Cattleya into 2 (or more) smaller plants. Dividing Cattleya orchids is not one of my favorite projects just because I love the huge, never-ending pseudobulbs that make a large, healthy plant. I’d prefer to keep the large orchid as one, then to have three or four little ones (but that’s just me).
That’s not the only reason.
Diving Cattleyas can introduce the risk of contamination by bacteria, fungus, or virus, especially since we will be severing the rhizome. This isn’t the same as cutting the leaf or the flower spike—the risks are much higher.
Keeping the large orchid together as one is always better. Even though his article is how to divide a Cattleya, please do so only when it absolutely doesn’t fit into that tiny pot anymore and it’s impossible to handle.
The only other acceptable reason to divide it is if a friend wants a cutting. That also counts. 😊
To divide a Cattleya orchid, you will need to 1) determine the back bulbs from the front bulbs, 2) find any new active eyes that need special care, 3) separate 3-4 pseudobulbs that are healthy on each side, 4) cut the rhizome, and 5) place it in the new pot.
It’s pretty easy, but each step has its peculiarities and reasons behind them. It’s the “why” I want you to focus on. Let’s look at those steps one by one.
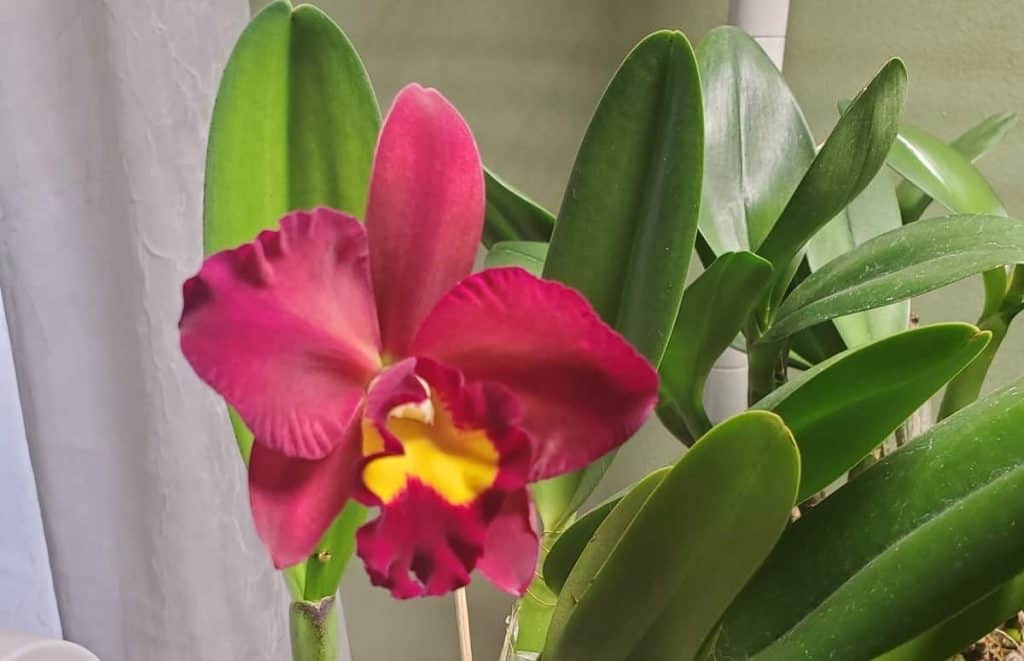
Image Credit: © 2021 Orchideria. All Rights Reserved.
1) Determine the back bulbs from the front bulbs
Let’s say a friend wants a cutting of your Cattleya orchid. If you snip just one pseudobulb and hand it to them, even if it has healthy roots, the lone pseudobulb might not survive. Chances are it will die. If one single pseudobulb is cut off and severed from the original plant, it doesn’t make it by itself.
Power comes in groups—much like human life. We usually have a harder time when we are by ourselves to overcome obstacles, yet when we are supported by family and/or friends, we recuperate better from the problems that life hands to us. The peers in our life are like the older pseudobulbs.
Since the older bulbs only serve as power houses or nutrient storage for the orchid, they will no longer be producing flowers. In time, the leaves also fall off, leaving a crumpled, old stump.
This can make them quite unsightly when sitting in an older pot, and many times we make the mistake of removing them. Always leave them on. They have a purpose, just like everything has its place in life.
Cattleyas usually grow in only one direction. The older pseudobulbs will no longer produce a flower, but they are essential at gathering nutrients and sending those nutrients to the newer pseudobulbs that are actively producing flowers. That’s why it’s important when dividing Cattleya orchids to identify which are older or newer pseudobulbs.
The older bulbs will have a spent sheath in the middle of the leaf where the flower once blossomed. The bulbs will be smaller and much more wrinkled. They can or cannot have a leaf still attached—the oldest ones won’t.
When you find the rhizome (the thicker, long main horizontal root system) you can trace the trajectory from the older to newer pseudobulbs. In Cattleyas, it’s unusual for the rhizome to split and bifurcate (this is done by outside intervention, usually human, to make the orchid thicker and plusher). Once you find the older pseudobulbs, follow that rhizome down to the newer pseudobulbs. (Source)
2) Find any new active eyes that need special care
I want you to pay attention to the newer pseudobulbs. These newer bulbs will have active root growth and, in the future, produce new stems (or pseudobulbs), often having active eyes at the base of the pseudobulb.
These active eyes are where future stems will grow, so be extra careful when handling them.
To identify active eyes, find swollen lumps on the base of the younger pseudobulbs. Be careful: they are easily broken off. If they break, you will be losing the whole year’s work of growth. Sadly, I’ve broken too many to mention.
3) Separate 3-4 HEALTHY pseudobulbs on each side
You need to divide that rhizome into smaller chunks of several pseudobulbs each, leaving at least four pseudobulbs in each cutting. If the leaf is no longer on the pseudobulb, it doesn’t count as one pseudobulb. This is my opinion only, and I’ve read others who contradict this practice of counting.
My reason of thought behind this is that you need to divide the Cattleya rhizome where the newest bulb will have a continuous supply of nutrients coming from the older generations to give it support.
You might be thinking that the older generation of spent pseudobulbs that still have leaves aren’t going to produce any more flowers. You’re right. So why cut them? Why plant them in the pot with orchid bark?
This is how the Cattleya reasons (Ok, they don’t think, but you get the point).
When the older rhizome works on sending nutrients to the newer pseudobulbs, they send it through the horizontal rhizome. All the sudden the rhizome is cut off, leaving it to send nutrients to…well, no one. What should the orchid do? Now has a dilemma. It has food, but no one to give it to. So, it will start to create an active eye on the newest rhizome before the cut.
The newest pseudobulb will produce a new active eye, which grows into a pseudobulb, and later a flower stem, just because it has the nutrients to do so. This active eye is quickly working on saving its species. It needs to generate a new pseudobulb promptly, growing a new stem. (Source)
Therefore, you can divide your Cattleya orchid, even if they are older pseudobulbs, and pot it up. It will survive and produce new growths. New pseudobulbs grow from these eyes at the base of each pseudobulb.
4) Cut and Treat the Rhizome
Now that you know the process behind this, you need to get started. But before you grab those pruners or scissors, don’t do this in the wrong season. Make sure your Cattleya is putting out new roots. If you divide the Cattleya when it’s in bloom, it will hate you with a passion, showing is entire revolt and “adolescent rebellion” but doing nothing this next year.
It sulks in its self-pity and sits there…for an entire year. Finally deciding that throwing this temper-tantrum will get it nowhere, the new division decides to get on with life.
This is the best way I can describe it.
Don’t evaluate your situation in a couple of months after dividing your Cattleya, deciding that you did a bad thing—decide that after a year. If you wait that long, you’ll see that you did the right thing by dividing it.
4A) Sterilize Your Equipment
We won’t be cutting a leaf, but the rhizome itself. This is extremely dangerous for your orchid. All the nutrients that go on to newer generations of pseudobulbs pass through the rhizome. When you open this sealed plant structure, bacteria will encounter this severed portion and rejoice.
The last thing you want to do use a contaminated instrument to cut the rhizome.
You can use isopropyl alcohol 70% or a die-hot flame. Hydrogen peroxide only tickles the bacteria; it doesn’t kill it.
If hydrogen peroxide is the only thing you have, then you need to manually rub the soaked cotton ball with it so the bacteria will be physically removed. If you want to know more the uses of Hydrogen Peroxide in orchid care, check out this article, and why I’m against its use on the roots.
4B) Unpot Your Cattleya Orchid
The older, dead roots need to be removed. They will not contribute to anything more inside your pot—much to the contrary. Older roots accelerate the production of bacteria and fungus inside the pot.
In nature, these older roots will fall off into the ground (or disintegrate by themselves naturally) and don’t have any more contact with the orchid itself.
Inside the pot, this doesn’t happen. They have nowhere to go. As they decompose—that’s what dead organic material does—they have nowhere to go and raise the pH of the potting media. This in turn raises the attractiveness to bacteria, which love a dead cell. The fungus is attracted to the bacteria—and wham! You have yourself a nice little fungal colony.
Now that the roots are all healthy and green, firm, and here to stay, it’s time to select your potting material and pots. On average, a Cattleya orchid needs to be repotted every 3-4 years due to the breaking down of the media or because it’s overgrown its current pot.
If your media is older, than you need to replace it will large, coarse grade orchid bark. I recommend this brand (Affiliate Link) but you can use what is nearest to you in your location.
If you happened to find portions of the Cattleya that are blackened, mushy and soft but can’t be removed (it’s part of the rhizome or stem) then you need to treat it with either a fungicide or bactericide. Either one works, and I usually use Physan 20, which you can find here (Affiliate Link). This will kill any bacteria that tries to linger around, attempting to make a comeback in the future.
4C) Make a Clean Division on the Cattleya Rhizome
Be determined. Whatever you do now, do not shake, twist the blade, or be hesitant making several tiny lacerations. One, clean, surgical cut with precision is what you’re aiming for.
I must advise to test the pruners first. I’ve gotten to this step only to find out my scissors were dull. Hence, I squished and smashed the orchid’s rhizome instead of making a nice clean cut. This is the worst thing possible.(I’ve said that several times though during this article… LOL. But honestly, this is bad.)
Congratulations. Now you have several tiny orchids that need to be repotted.
4D) Seal the Open Wounds
Your rhizome is suffering at this point. It’s wide open, and bacteria see this as the perfect condominium, rent-free. You need to spray this new, open wound with Physan 20 (or your favorite fungicide) and make sure that nothing is getting inside that cut.
Once the bactericide or fungicide dries, sprinkle the wounds with cinnamon (not the roots, just the rhizome). I have an article saying why I don’t use cinnamon on roots, which you can read here. In any case, using cinnamon for leaves and rhizomes is perfectly okay.
5) Place Your Cattleya Division in its New Pot
Finally, a new home! The Cattleya now has a new pot. This step can be confusing because you don’t want to over pot, but underpotting isn’t good either. Unlike Phalaenopsis orchids, you do NOT want to choose a pot one size bigger. Aim for 2 or 3 sizes bigger.
Cattleyas are prolific growers, loving to send new roots and pseudobulbs out on every side. I’ve underpotted Cattleyas many times, thinking they wouldn’t grow that big…Yet here they are, crawling out of their current pots and it’s only been a year.
This happens because the Cattleya orchid grows sideways reaching for the sunset in the horizon, (this classifies them as Sympodial orchids) but Phalaenopsis grow vertically, with the stem reaching toward the sky (called Monopodial orchids). Phals will never grow much out to the sides—Cattleyas make it their goal.
You need to set the older pseudobulbs near the outer rim of the pot, almost hugging it. The middle of the pot should be aligned with the newer pseudobulbs. This allows it to grow on for three or four inches in the next years without having to repot.
Yes, this means that it will sit lob-sided in the pot for a few years. It will look like you have no idea what you’re doing and had problems in geometry class finding the circle’s radius and midpoint. Don’t worry. Before you know it, the orchid will be reaching the other side of the pot.
Most all growers advise to keep the back bulbs almost kissing the rim, (just as I did moments ago) but if you have a middle division of the Cattleya, you might not want to do that. The orchid was used to receiving nutrients from the older pseudobulbs, and it just might think it needs to grow in both directions.
The main direction will be towards the front, younger pseudobulbs, but occasionally, they get confused and grow in both directions.
This means that the space you left for your Cattleya to grow is near nothing. All your repotting was wasted. So, in this middle division, you need to give it some minimal room to produce one stalk, but the main, free area still needs to concentrate toward the middle of the pot. Most of the growth will still be in that direction.
Final Considerations to Dividing Cattleya Orchids
Whatever you do now, please DO NOT water your orchid. It’s hurting and has open sores that will just get worse if they find abundant humidity and water. Resist the temptation of keeping your orchid hydrated, at least for the next 4 days. Cattleyas are resistant and can tolerate that long without water.
By watering now or too soon, the open wounds haven’t’ had time to heal.
Bacteria love a swimming pool, and with the potting media that is already humid, they will have more than enough time to have some fun.
When you can verify that the potting media is dry, then water abundantly. This has given the orchid roots (and rhizome) the time to heal and seal off any possible port of entry for microorganisms.
Now you have the perfect place for your Cattleya orchid to live in its new pot (or pots). If you have any questions or comments, please leave them below and I’ll get in touch.
Don’t Stop Learning!
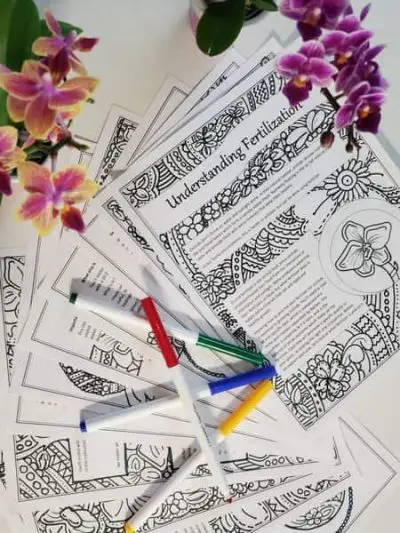
If you want to be included in more information and get a 14-page fertilization guide, please sign up for my newsletter. I don’t spam, but send emails out bi-monthly with some curious topics of interest. If you want more information, click here to go to a specific page on this website where I explain it more in detail.
Also, if you are looking for an orchid journal to keep your notes specifically about orchid care, check out my 2 solutions for that on this page. If note-keeping isn’t your thing, then there is a free excel spreadsheet that you can download. Click here for more information on how to do that.
If you subscribe to my newsletter, I will send you a 14-page guide on the main tips of orchid fertilizer. It is downloadable and you can print it out on your computer. I designed the guide to double up as a coloring book, just to make it fun.
I wish you the best in your orchid care, and Happy Cultivating!

You made me laugh so hard. Thank you for your information. I just received a Caty that needs to be cut. I was nervous to cut but with your instructions I will be more prepared.