
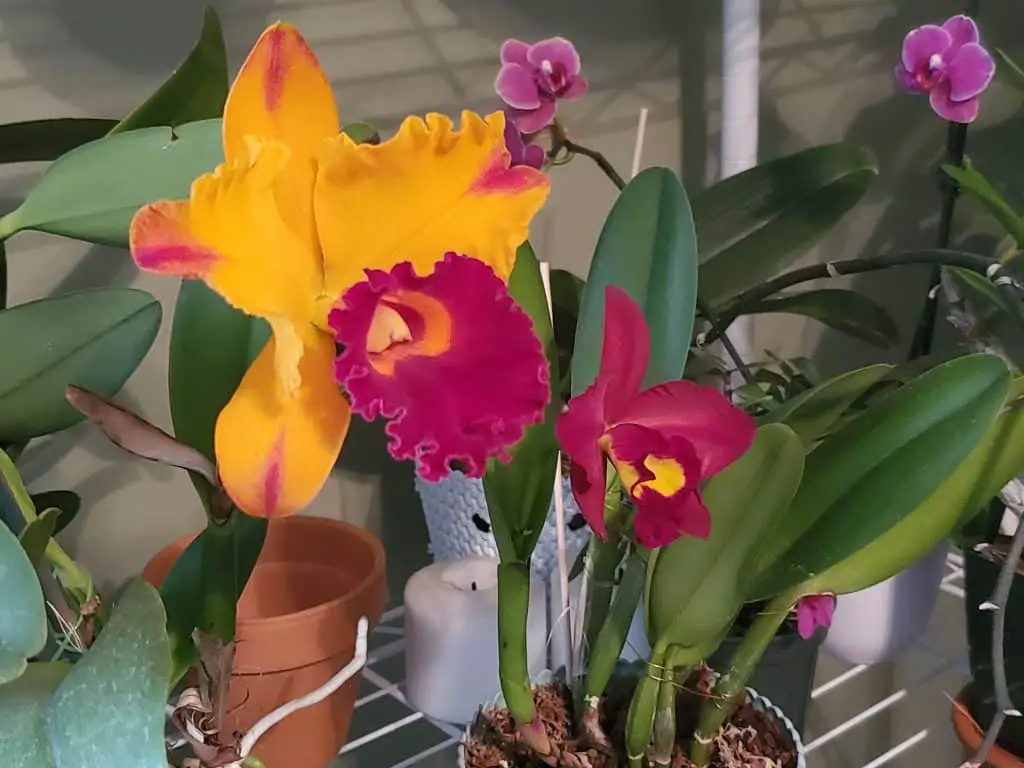
Your orchid care has excelled in growth this year, now reaching the side of the pot. Its roots are so healthy that they spring out in all directions. Before you know it, the roots are crawling down the side of the pot and into the next one.
Result: you need to repot this orchid as soon as you can.Yet, there is one exception: you just repotted last year.
The potting media is still in very good shape and it’s not time to switch it out quite yet. So, what do you do? With the price of potting media these days, you can’t be throwing it away with every repot, especially not before less than a year. There is a solution called up potting, and it’s different in a few ways than repotting.
In this article, I’m going to go over how to up pot an orchid.
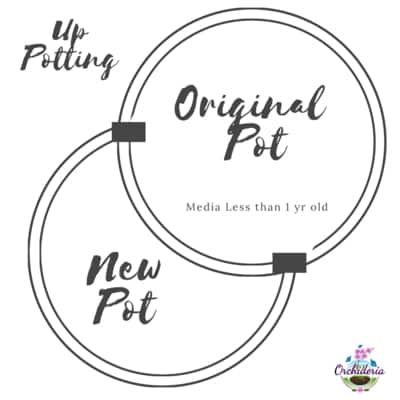
Up potting orchids involves different techniques than repotting orchids does. By up potting orchids, you are adding an extra pot around the outside of the exterior roots, maintain the original pot intact.
Up potting orchids that have outgrown their pots ensures that 1) they don’t cause the pot to topple over, 2) they can have access to good potting media, and 3) the orchid continues to grow healthier without immediate repotting.
Let’s look at those, one by one, but I want you to pay attention to the differences in repotting and up potting. Most of the process is very similar to repotting, but in some cases, up potting orchids is a whole different beast.
By the way, if you are looking for a simple tutorial on how to repot a sympodial orchid, this article might be better for you. In that article, I talk about how to repot a Cattleya, and go through the steps of changing the potting media.
1) Check the Media Before Up Potting Orchids
The first decision that you must make is that if you really need to up pot, or just simply repot. The answer is easy: if you press down on the media, does it sink?
That could be very well the first indication that is has broken down. Bark chips don’t stay intact forever, and their usual decomposition happens around 2.5 to 3 years.
Sphagnum moss is even faster—the cheap brands hardly make it a year.
When the decomposition phase starts, the bark will not offer resistance when you press it down. The inner part of the bark fails to hold its shape and it crumbles.
The second (and more reliable) way to test the potting media is to use a pH measure. Pour water on top the potting media, just as you would with a normal watering. The water that exits the pot needs to be collected and measured. The water should read anywhere from 5.3—that’s low, 5.5 is better—to around 6.8. If you happen to reach 7.0, that’s ok too. No frets.
Repotting Tip: I am talking about both sympodial orchids, as in Cattleya, Oncidium, Dendrobium, and Cymbidium orchids, and orchids that are not terrestrial or lithophytes (that like rocks and cliffs). The pH of those will be either higher or lower. Most epiphytes are around the 5.3-6.8 range.
If you don’t have a pH meter, you can find them easily at pet stores since the same pH reading in fish aquariums is the one you want. You can also get the meter that is used for plants—either one is fine. If you don’t have one, check out this link to see the price on Amazon (Affiliate Link).
2) Gather All your Materials before you Up Pot
Now that you’ve decided to up pot and add another pot to the original one, let’s get started. In any repot or up pot, you need to verify that all your materials all with you before you start.
I’ve lost count of how many times I’ve started a project only to abandon it halfway, due to lack of materials. Leaving the unpotted (or half potted) orchid in that state is hard for its roots.
As in any repot, an up pot needs to be done quickly. By quickly I mean the same day. Repotting hurts the roots and the orchid undergoes stress during this time, and the least amount of manipulating the roots is the best. Get the orchid potted as quickly as possible and let it recuperate. This makes the orchid grow back faster.
Materials needed:
- New pot (same size)
- Orchid bark (usually coarse grade or larger pieces)
- Sphagnum moss
- Charcoal
- Glue gun or Soldering iron
- Rubber band (I used twine in this guide)
3) Selecting the “Up Potting” Pot
If you are into orchid care like I am, the pot does matter. It must be aesthetically pleasing if not the whole orchid loses some of its charm—except that not what we are going for in a repot. I know… This setup is going to be functional, not eye-candy pleasant.
To minimize this effect, use the same type of pot (material), preferably the same size and same color. This can drastically reduce the effects of this “how-to” going sour. The pot also must be “cutable”, as in easily cut with scissors. If you are using terracotta or glass, this method won’t work.
Difference # 1 Don’t choose a pot that is a size bigger.If anything, choose the same size pot. I say this because you are going to add this pot to the original pot. If it were an original repot, then you’d pick a size or two sizes bigger than the pot it’s originally in. But your orchid has already grown a lot this year, and even though it will still grow some more, it won’t double the size of your original pot.
Most orchids like to be root-bound, and this means that the orchid in the first pot will be happy, but the adjacent pot—not so much. Only a few roots will be hanging off from the side of the pot, yet, it has this huge pot all to itself. Those roots are going to feel a bit lost at first.
Whatever you do, don’t go a size bigger. Smaller would be ideal, but that’s eye sore. For this reason, I’d advise using the same size pot.
4) Cutting the second Pot – the up pot pot
Here is where your cutting skills are tested. Trace what you feel is the outline of the side of the pot, like a concave semicircle, and cut it out of the new pot. As for the older part of the that overlaps, you can decide to keep it or not.
That’s up to you.
It’s easier to do if you keep it intact because the roots have more than possibly grown attached to it. Your pot cuttings should look something like the diagram below.
5) Attach the new pot to the old Pot
Use the guide above to carefully snug the newer pot around the roots that overhang the older pot. Try your best to not damage any roots in this process. Once the pot is firmly around the new pot, glue it in place. You can use any method of attaching the two pots: glue gun, soldering iron, Wire bands, rubber bands… whatever you have available to you.
Difference # 2
The main objective is to disturb the roots the least possible.In a normal repot, you would clean out the old roots, remove the dead roots, take away the old potting media, remove the sheaths or dead protective covering, cut old flower spikes…and the mechanical manipulation to the roots would be a definite part of this experience. There is just no way to avoid that.
In an up pot, you want to touch the roots the least possible.
6) Add New Potting Media to the 2nd Pot
Since the roots are growing on the outside of the pot, they will have somewhat become accustomed to being in the air (aerial roots). They have not had contact with potting media and do not know what that is like. I have an article about aerial roots if you are unsure of what to do with them, which you can read here.
Once the pots are together and have had ample time to dry, you can add potting media around the 2nd pot’s roots. This will be the biggest shock to the roots and some will inevitably die. They aren’t accustomed to being in an environment that has less air flow yet more water and humidity.
Aerial roots are the same structure as roots that have been buried in the pot.
There is no physical change about them. What changes is that orchids are plants of habit, and they take a long time to change and adapt.
Once an aerial root knows that to absorb the maximum amount of water and nutrients that are circulating around in the wind, they need to absorb all that they can, they will take this same habit and do that in the pot. Yet in the pot, if they absorb the maximum water they can, and don’t have a way to get rid of that excess water, then the roots will decay from the inside out.
It’s most likely that some roots will die… I’d prefer to be upfront and say what to expect than to have a surprise. The good part is that not all the roots will die, just a small portion. New roots will also grow, making the real repotting process easier to deal with next year.
Pack in potting material until the orchid is firm and not wobbly. It should not move inside the new pot.
7) Verify that the potting media is secure and drains well
You will want to water both pots, especially focusing on the new pot. How fast does water drain? Does the water pool up inside the bottom of the pot? Does it exit the pot as quickly as the first pot?
Difference 3# Water as soon as you finish up potting.In a normal repot, it’s best to not water for 3 or 4 days to give the roots time to heal. This is done because the roots were cut, touched, moved, washed, scrubbed, rearranged, and overall, there are a lot of places that the velamen could be hurt or broken open.
In the up pot, the probability of damaging roots is very unlikely. It’s best to test to the water entering the pot and exiting now. If you wait a few days before this is done, then the roots have already been resting and accommodating to their new home.
What if the pot doesn’t drain as nicely as it should? Then you must redo the whole media.
For the orchid to be “up potted” then “un potted” in a course of 3 days is just too much stress. The orchid will most likely panic. If you must fix a problem, then identify it soon and fix it now.
It’s important that the water exit both pots at the same rate. Since the bottoms of the pots are connected—yet not really—water can pool up in one pot and not the other. This will cause the roots of one to decay while in the other pot, the roots remain healthy.
8) Final Stages of Up Potting Orchids
You are ready to put your new pot on the shelf again, only to “really” repot the entire duo next year. Now that you’ve read the entire article, you may decide that this is not something you want to do.
If you want to keep the orchid in the same pot a little longer, that’s fine too. Just provide the stability the pot needs to not be falling over.
After the orchid has had time to adjust to the new home, then you can prune it or cut it as needed. If you want to know how to do that, then click this article, where I explain how to get more flowers from a sympodial orchid.
Don’t Stop Learning!
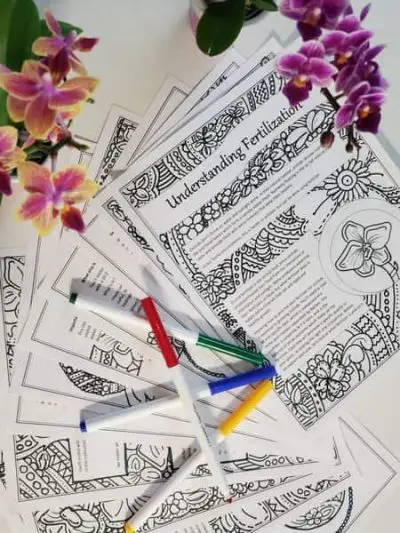
If you want to be included in more information and get a 14-page fertilization guide, please sign up for my newsletter. I don’t spam, but send emails out bi-monthly with some curious topics of interest. If you want more information, click here to go to a specific page on this website where I explain it more in detail.
Also, if you are looking for an orchid journal to keep your notes specifically about orchid care, check out my 2 solutions for that on this page. If note-keeping isn’t your thing, then there is a free excel spreadsheet that you can download. Click here for more information on how to do that.
If you subscribe to my newsletter, I will send you a 14-page guide on the main tips of orchid fertilizer. It is downloadable and you can print it out on your computer. I designed the guide to double up as a coloring book, just to make it fun.
In all, I hope this article helped. I know that a video would be beneficial for this article, and I’m working on it as you read. I should be uploading this tutorial shortly. Yet if the written article helped, please leave a comment or a question below and I’ll get back to you. Happy Cultivating!

Hello 🙂 can you kindly show a pic of what the up pot? I’m having a hard time visualizing it and how to repot after the up pot.
Thanks so much!
Its like you read my mind! You appear to know so much about this, like you wrote the book in it or something. I think that you can do with a few pics to drive the message home a little bit, but instead of that, this is excellent blog. A fantastic read. I’ll certainly be back.